Important Announcement
Title, thumbnail ya video me agar abusing, adult ya sexually explicit content paya gaya to channel bina kisi warning ke permanent delete kar diya jayega. Yeh rule turant lagu hai. Ab tak 350+ channels delete kiye ja chuke hain. Kripya kisi bhi prakar ka adult ya abusive content upload na karein. Rule violate hone par channel bina bataye delete ho jayega.
— Team ApnaTube
Ultimi video

7 नवंबर 2025 का पंचांग और 12 राशिफल | परिघ योग में जूते दान का शुभ फल | शुक्र ग्रह दोष निवारण उपाय |
7 नवंबर 2025 का दैनिक पंचांग और 12 राशिफल जानें।
आज मार्गशीर्ष कृष्ण पक्ष द्वितीया, शुक्रवार है। परिघ योग में जूते का दान अत्यंत शुभ और फलदायी होता है।
सूर्योदय कालीन नक्षत्र, ग्रह स्थितियां, राहुकाल, चौघड़िया मुहूर्त के साथ सभी शुभ-अशुभ योग और उपाय।
विशेष: शुक्रवार को सफेद वस्त्र दान करें, गरीब बच्चों को आइसक्रीम या खीर खिलाएं एवं चिड़ियों को चावल डालें।
पूरे वीडियो को अंत तक देखें और अपने राशिफल के अनुसार आज का मार्गदर्शन प्राप्त करें।
#7नवंबरपंचांग #दैनिकराशिफल #परिघयोग #शुक्रदोषनिवारण #jagatkasaar #शुक्रवारव्रत #पंचांग2025
Jagat Ka Saar – आपकी दुनिया का सार।
mysterious stories 41 WARNING ! A Marriage Trap_Full-HD
horror stories 40 The Zodiac Killer_Full-HD

horror stories 39 Marriage Turned Into Hell (_Mature Audience Only_)_Full-HD
horror stories 38 The Silent Serial Killer_Full-HD

horror stories 37 Tortured To Death By Paranormal (_Real Incident_)_Full-HD

#chilichicken #chilichickenrecipe #chilicheese #chilipaneerrecipe #chilichiken #chilies #chilipeppers
ଚିଲି ଚିକେନ୍।
How to make chili chicken odia.
chilli chicken recipe
chili chicken
how to make chilli chicken odia
chilli chicken
ଚିଲି ଚିକେନ
odisha style chilli chicken
how to make chili chicken recipe
chicken recipe in odia
chili chicken recipe odia
how to make chili chicken
odia chilli chiken
chilli chicken odia
chicken chilli recipe
chicken recipes
chicken pakoda
chicken chilli
chilli chicken in odia
chilli chikcken recipe in odia
chicken chilli in odia
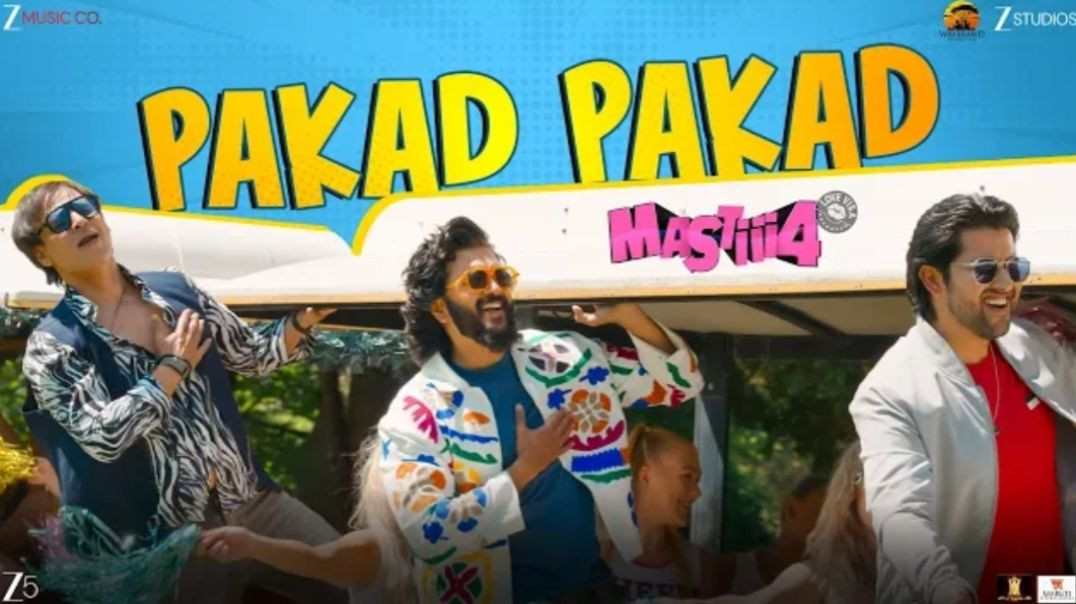
Pakad Pakad - Mastiii 4 Riteish Deshmukh, Vivek Oberoi, Aftab Shivdasani Meet Bros, Danish Sabri

horror stories 36 A never seen FRIENDSHIP (_Mature Audience Only_)_Full-HD

Jagga Jasoos Full Movie Ranveer Kapoor & Katrina Kaif

Punjabi Hits different

Ego should be at peak .

🐿️ जब एक गिलहरी बनी माँ _ दर्द_ खतरा और मातृत्व की जीत AnimalMother
5G Ambulance
horror stories 35 You Can't FINISH this Video (_Mature Audience Only_)_Full-HD
horror stories 34 Someone in this photo has an DEADLY SECRET_Full-HD
horror stories 33 This Man is pure EVIL_Full-HD

Prophet Mohammed founder of islam biography
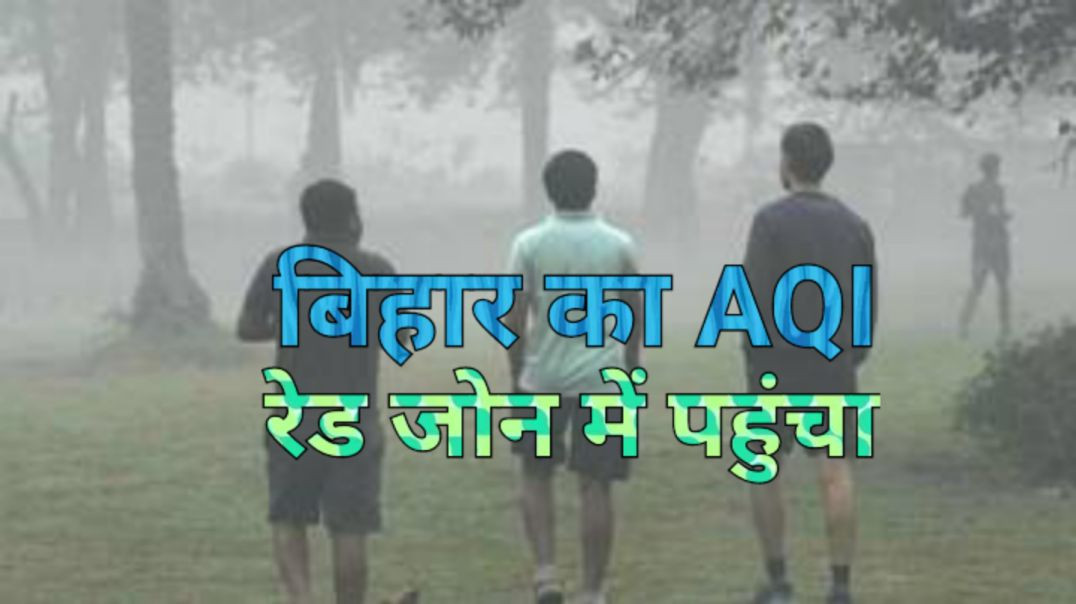
#winter #winterseason #winters #winternews #coldweather
अगले ३ दिन कुछ ऐसा रहेगा राज्य का तापमान।
Disclaimer: - Under section 107 of the copyright Act 1976, allowance is mad for FAIR USE for purpose such a as criticism, comment, news reporting, teaching, scholarship and research. Fair use is a use permitted by copyright statues that might otherwise be infringing. Non- Profit, educational or personal use tips the balance in favor of FAIR USE.

horror stories 30 The worst DEATH story YOU will hear_Full-HD
