Important Announcement
Title, thumbnail ya video me agar abusing, adult ya sexually explicit content paya gaya to channel bina kisi warning ke permanent delete kar diya jayega. Yeh rule turant lagu hai. Ab tak 350+ channels delete kiye ja chuke hain. Kripya kisi bhi prakar ka adult ya abusive content upload na karein. Rule violate hone par channel bina bataye delete ho jayega.
— Team ApnaTube
אנשים ובלוגים


कुवैत पुलिस AI कार सिक्योरिटी सिस्टम/भाग कर काम करने वालों के लिए मुसीबत/#kuwaitpolice

apna tube Blog india
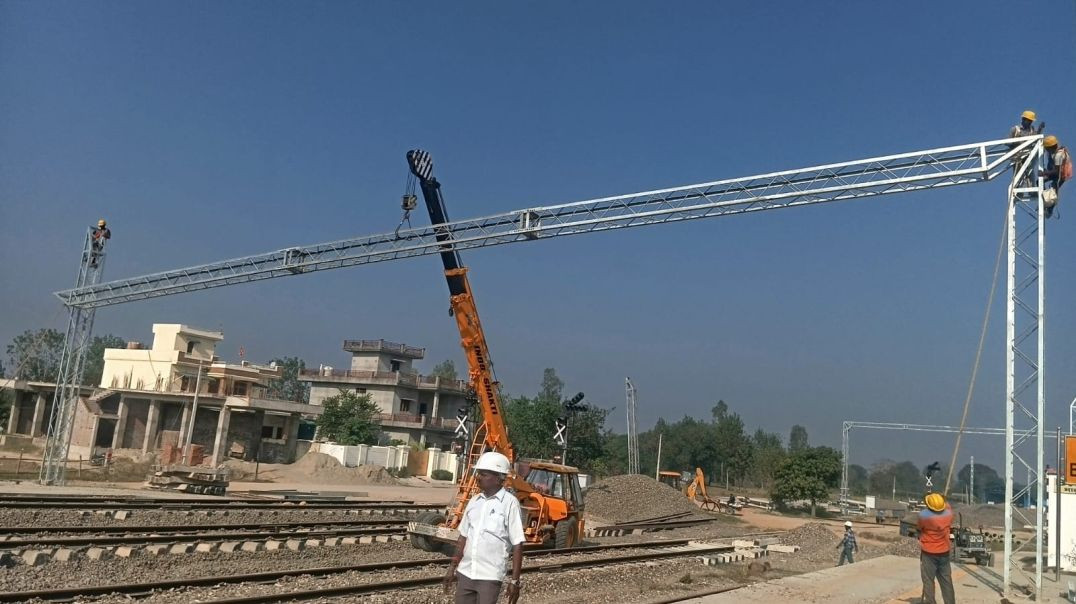
Crane ercation work👍
apna tube Blog
hello friend

आज करने वाला अपना ट्यूबके बारे में कैसे काम करता है क्यों काम करता है कहेक काम करता है

_happy_birthday_to_you,__happy_birthday_to_you_viral___(composition)_Jeetu_Devasi_youtubeshorts_WebM
#happy birthday to you, #happy birthday to you#viral # (composition) Jeetu Devasi#youtubeshorts

Nagar Keertan Sahib ji 🙏🙏☝☝😍
apna tube Blog
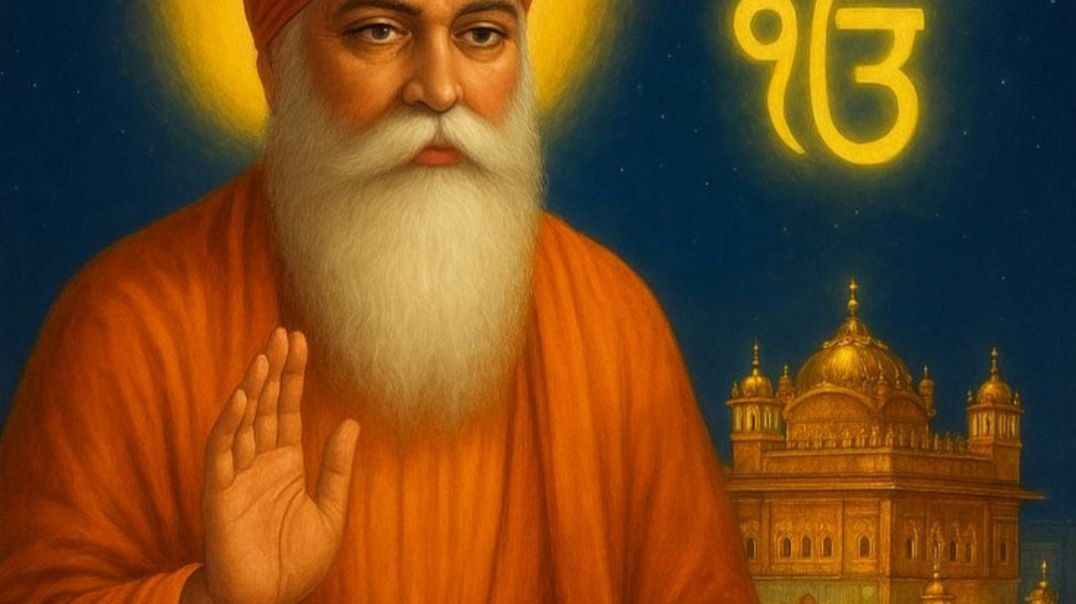
Nagar keertan

ek number tuzi kambar #shorts #viralvideo #newsong
smitapateliya
ek number tuzi kambar
#shorts #shortsfeed #viralvideo #trending #trendingsong #ytshorts
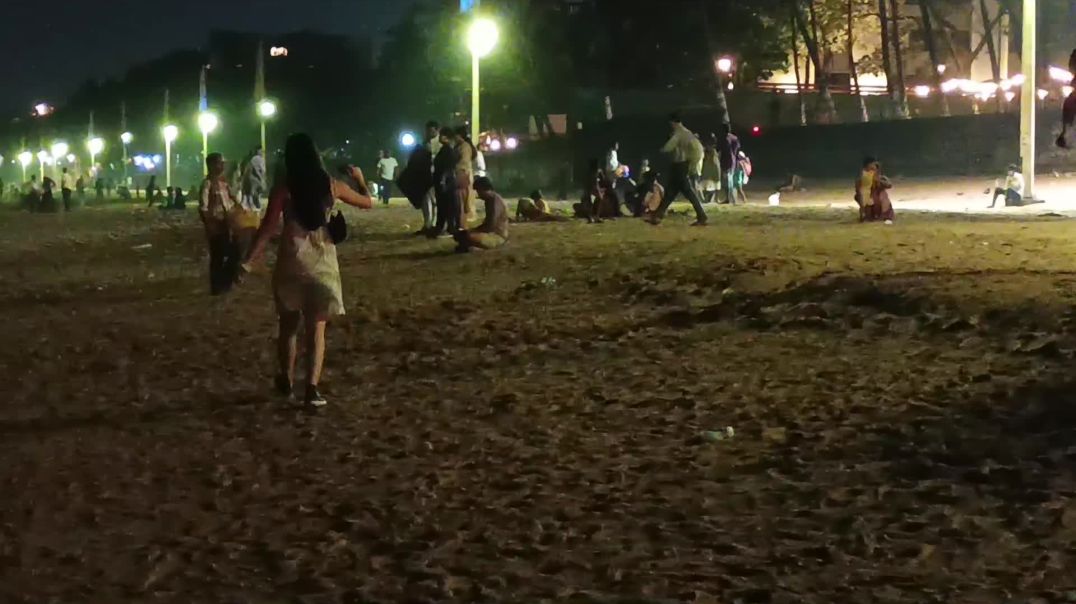
juhu beach Mumbai night video juhu chaupati night video

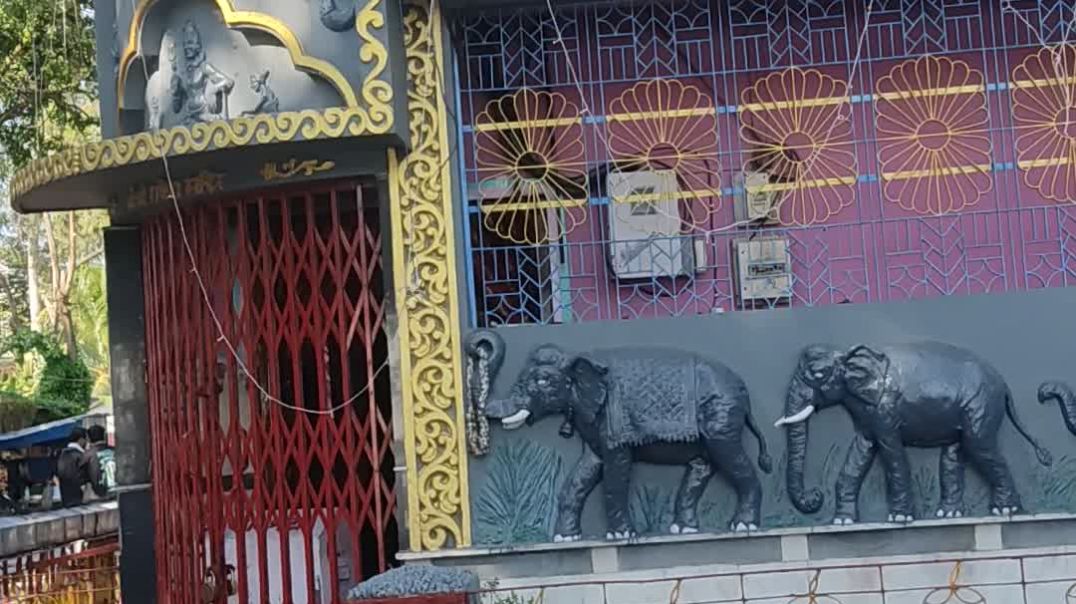
Temple visiting video
वीडियो कैसा है कॉमेंट में जरूर बताएँ प्लीज़ suscribe जरूर करें प्लीज़ सपोर्ट जरूर करें प्लीज़
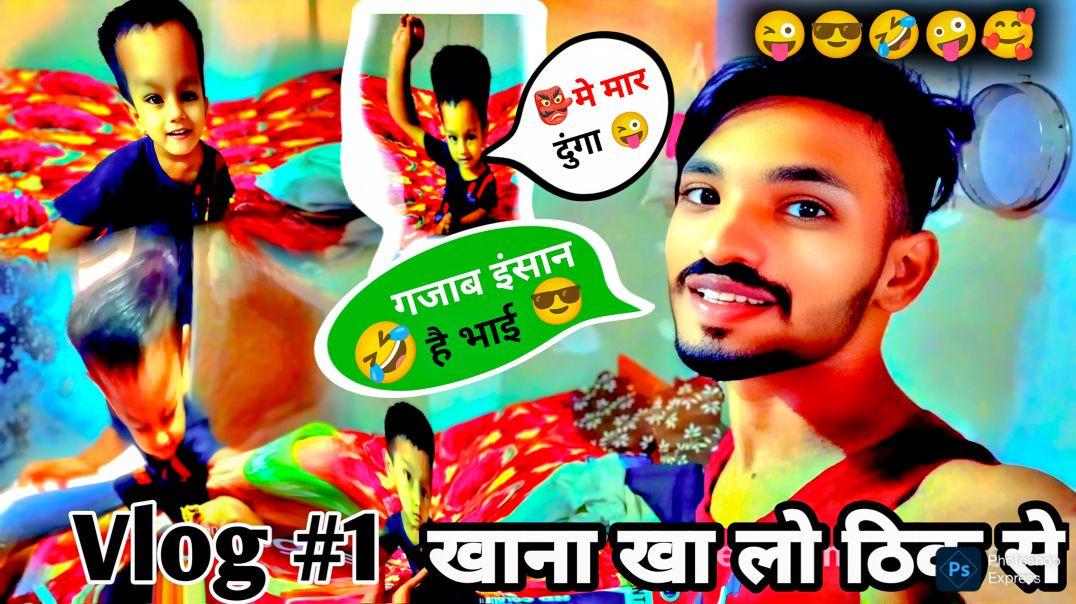
Gajab Insan hai bhai 🤣 || Dhanteras Dhano Vlogs ka 🤪 Funny #vlog video || खाना खा लो ठिक से 2025
#vlog #dailyvlog #indianvlogger #vlogger #travelvlog #villagevlog
#hindivlog #funvlog #familyvlog #desivlogger #lifestylevlog #vlogsindia
#prenk #viralvideos #vlogger #trending #vlog #vlogs #bhojpuri #trendingshorts #newshorts #viralreels #comedy #comedyvlog #funnyvlogs #prenkvlogs #dhanterasdhanovlog #dhanterasdhanovlogs
dhanterasdhanovlogs
funny #gudduvlogs #prank #reaction

My new YouTube video

Aapko Pata Bhi Nahi Aur Google Kar Raha Hai Mind Control! (आपको पता भी नहीं और Google कर रहा है माइं
Kya aap jaante hain ki aap Google par jo search karte hain, woh sirf results nahi deta, balki aapke dimag aur sochne ke tareeke ko bhi control karta hai? 🤯
Is video mein hum Google ke Mind Control ka parda faash karenge! Kaise yeh tech giant humari memory, decisions aur yahan tak ki elections ko bhi manipulate kar sakta hai?
#GoogleMindControl
#GoogleEffect
#DigitalAmnesia
#TechHacks
#MindManipulation
#GoogleSecrets
#DataPrivacy
#MindGame
#TechnologySecrets
#HindiVideo
#Hinglish
#SEME
mind control
Google mind control
digital manipulation
online privacy
social media influence
technology effects
psychological tricks
data privacy
internet control
subconscious influence
Google secrets
technology awareness
digital awareness
AI mind control
online behavior
technology impact
internet psychology
user manipulation
awareness campaign

aakhri Tak dekhna
