Important Announcement
Title, thumbnail ya video me agar abusing, adult ya sexually explicit content paya gaya to channel bina kisi warning ke permanent delete kar diya jayega. Yeh rule turant lagu hai. Ab tak 350+ channels delete kiye ja chuke hain. Kripya kisi bhi prakar ka adult ya abusive content upload na karein. Rule violate hone par channel bina bataye delete ho jayega.
— Team ApnaTube
Kratke hlače Stvoriti
😉😘😎🤗🤗🤗😙😙😗😗😗

1
2
4

meusic song

7
7
15
End tak dekho 😂
Video dekhte hi hasi aa jayegi 🤣
Sirf entertainment ke liye banaya gaya hai 😜
Pasand aaye to like aur subscribe zarur kare 🔥

0
0
3

PRADEEP KUMAR PKKK GAMING
MY SECOND YOUTUBE CHANNEL SUBSCRIBE ALL FRIENDS LINK👇
Name. SKKK GAMING
https://youtube.com/channel/UC....wI40LlxqkWBkOVyPKP2g
INSTRAGRAM. LINK 👉 https://www.instagram.com/pradeep_kumar_pkkk_gam
TWITTER LINK.
https://twitter.com/PkkkKumar?s=09
FACEBOOK LINK. https://www.facebook.com/profi....le.php?id=1000281639
MOJ ACCOUNT LINK. https://mojapp.in/@pradeepkumarpkkkgaming
THANK FOR WATCHING
PLEASE SUBSCRIBE ALL FRIENDS FOLLOW GYS
Tile work involves preparing the surface, laying out the tile pattern, mixing adhesive, cutting tiles as needed, adhering tiles to the prepared surface, and then applying grout to the joints. Key steps include proper sub-surface preparation, using spacers for uniform joints, ensuring the tiles are level, allowing the adhesive to cure, cleaning the tiles during installation, and then grouting and cleaning the joints.
This video demonstrates the process of laying floor tiles, including checking for level and alignment:
Surface Preparation
Clean and level the surface: Ensure the subfloor or wall surface is clean, dry, smooth, and structurally sound.
Prepare the substrate: For floors, this may involve cleaning existing concrete or preparing a suitable base. For walls, ensure plasterwork is complete and waterproof where necessary.
Waterproofing: If tiling an area exposed to water (like a bathroom), apply a waterproofing layer.
2. Layout and Dry Lay
Mark layout lines: Establish center lines for your layout using a spirit level or laser level to guide the tile placement.
Dry lay: Lay out tiles on the surface without adhesive to visualize the pattern, assess cuts, and make adjustments to the layout for better results.
3. Mixing and Applying Adhesive
Mix adhesive/mortar: If using a traditional method, mix cement and sand with water to create a honey-like consistency mortar.
Apply adhesive: Spread the adhesive evenly on the prepared surface using a notched trowel.
4. Setting the Tiles
Place tiles: Begin placing tiles along the layout lines, pressing them gently into the adhesive with a rubber or wooden mallet to ensure even adhesion and a level surface.
Use spacers: Insert tile spacers to maintain uniform spacing and straightness of the horizontal and vertical joints.
Cut tiles: Use a diamond or wet saw to cut tiles as needed for edges and corners, ensuring clean and accurate cuts.
You can watch this video to learn the basics of tiling a wall, including using tools like a trowel and placing tiles:
5. Grouting and Cleaning
Allow adhesive to cure: Let the adhesive cure completely for the time recommended by the manufacturer.
Apply grout: Once cured, clean the joints and apply grout using a grout float or sponge, forcing it into the gaps.
Clean excess grout: Wipe off excess grout with a damp sponge before it sets, and polish the tiles with a dry cloth to a clean, blemish-free finish.
6. Final Steps
Curing: Allow the tiled area to remain undisturbed for at least 24-48 hours for proper bonding.
Clean the area: Thoroughly clean the completed tiled surface.
Thank you for all family members

0
0
6
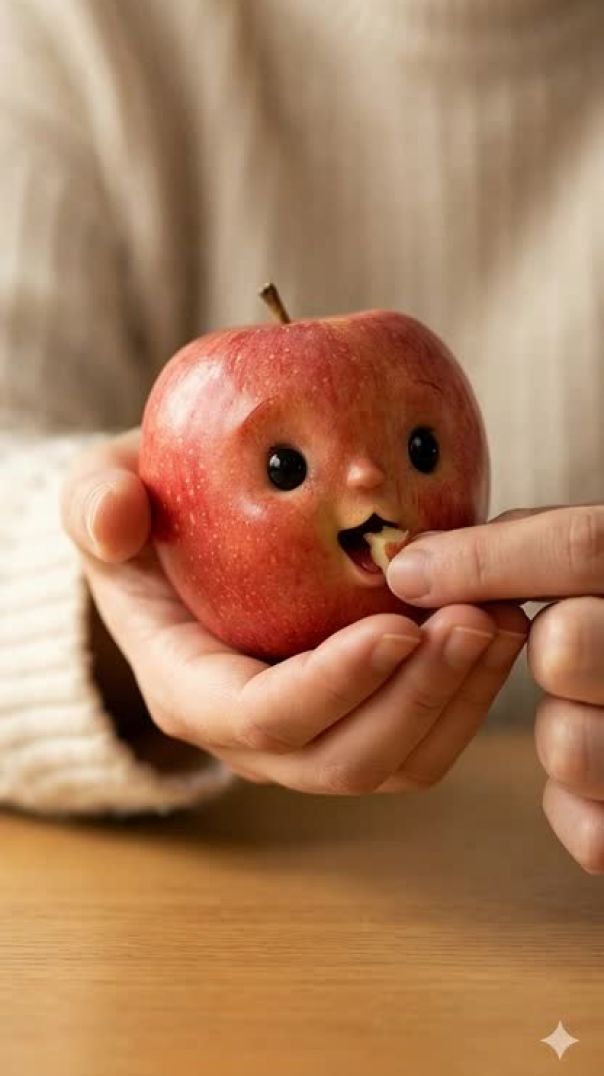
How to Make Tiny Fruit Feeding ASMR Videos 🍓🫐🎧
Share this to me @haroonaicreator
Tiny fruit feeding ASMR is going viral — and you can create it easily with AI!
Record your tiny fruit clips → generate hyper-realistic kawaii food creatures → and animate them with soft, cute motions. 🤤✨
Use these TOD prompts exactly as shown:
IMAGE PROMPT:
Create an ultra-realistic macro shot of FOOD = FoodName featuring a tiny stylized kawaii face subtly sculpted from the FOOD’s own texture—no human-baby realism. The cheeks, nose, and mouth should appear naturally formed from the FOOD with its pores and bumps flowing across the features, a smoothly carved mouth, and glossy doll-like eyes. The FOOD must rest gently in a human palm, while another hand feeds the embedded face a small piece of FOOD at its mouth. Use a mogucheeks-inspired food-creature aesthetic with hyperreal macro texture, rounded cute features, warm soft lighting, and shallow depth of field (f/1.2–1.4) producing creamy bokeh. Capture tiny excited expressions with glossy innocent eyes. Shot on an 85mm macro lens at f/1.4 with ultra-sharp focus on the sculpted face and a blurred background, in a 9:16 vertical portrait format.
ANIMATION PROMPT:
Animate only gentle, tiny movements: the FOOD-embedded baby-face blinks softly, its stylized mouth slowly opens in anticipation as a hand brings a small piece of FOOD toward it. The FOOD creature leans forward slightly to reach the bite, takes a small nibble with a soft mouth motion, and shows subtle cheek squish followed by delicate chewing. Add faint happy micro-expressions and minimal slow breathing, keeping all motions smooth, cute, and delicately understated.
Want full prompt in DM? Comment “AI” 👇✨
#asmr #tinyfruit #fruitasmr #asmrvideo #miniaturefood #satisfyingvideos #viralreels #aitools #aivideo #aicontent #asmrsounds #contentcreator #reelstrategy #trendingreels

3
5
7
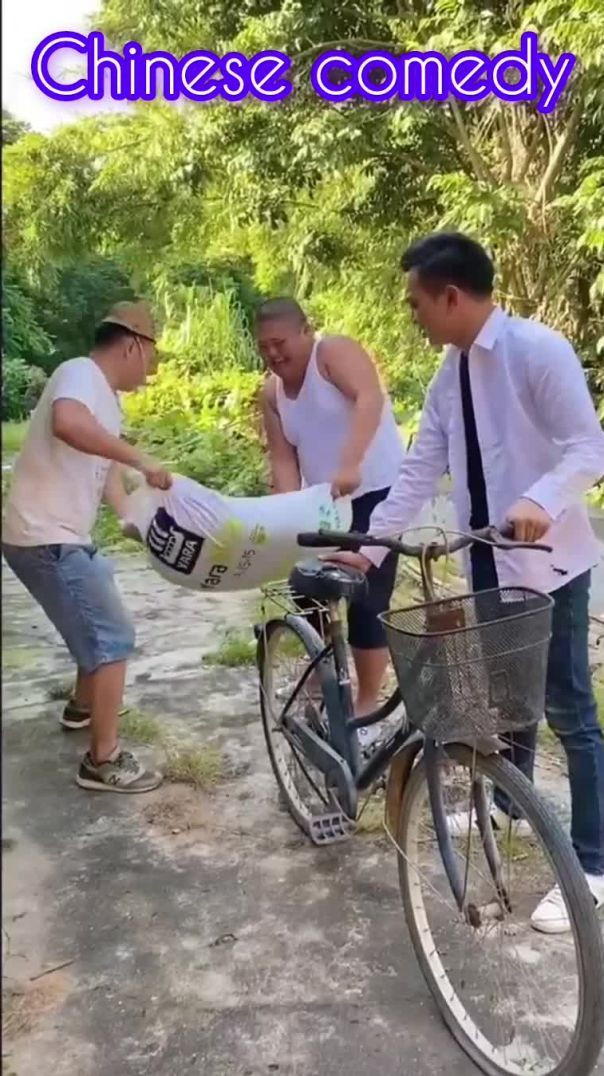
funny comedy

2
4
10