Important Announcement
Title, thumbnail ya video me agar abusing, adult ya sexually explicit content paya gaya to channel bina kisi warning ke permanent delete kar diya jayega. Yeh rule turant lagu hai. Ab tak 350+ channels delete kiye ja chuke hain. Kripya kisi bhi prakar ka adult ya abusive content upload na karein. Rule violate hone par channel bina bataye delete ho jayega.
— Team ApnaTube
Kurze Hose Erstellen
Dieses Video wird gerade bearbeitet. Bitte kommen Sie in ein paar Minuten zurück

5
5
39
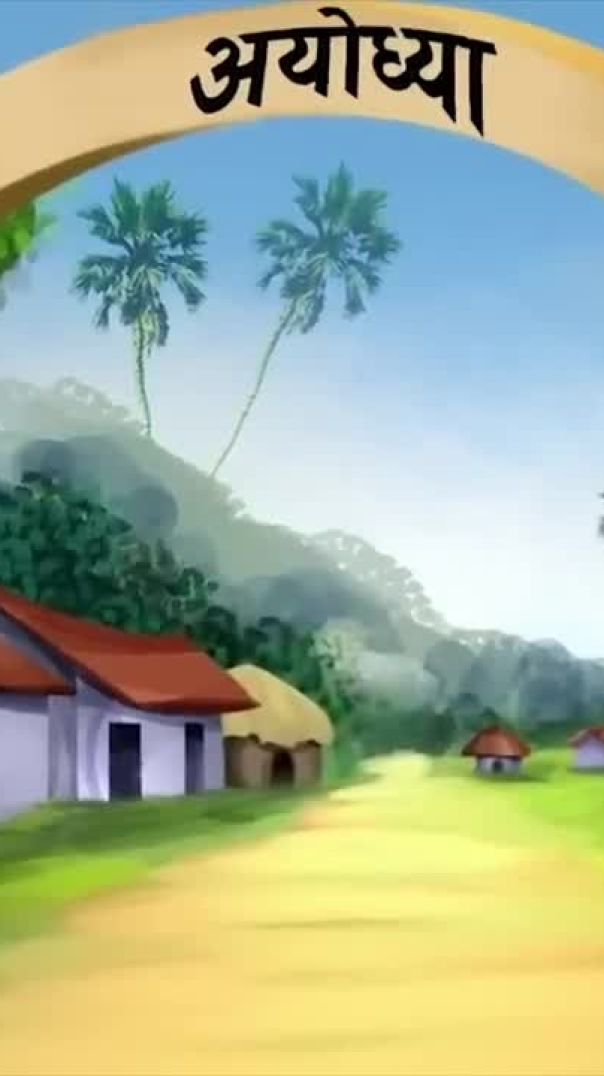
🚩 जय श्री राम 🚩
इस पावन वीडियो में आप देखेंगे प्रभु श्री राम, माता सीता, लक्ष्मण जी और हनुमान जी का अयोध्या में भव्य स्वागत।
यह वीडियो Ram Mandir Ayodhya, Ram Ji Agman, और Jai Shree Ram Bhakti से जुड़ी भावनाओं को दर्शाता है।
🙏 यह वीडियो हर राम भक्त के लिए खास है
🛕 अयोध्या राम मंदिर का दिव्य दृश्य
🔥 भक्ति, आस्था और सनातन संस्कृति की झलक
अगर आप Ram Mandir Ayodhya, Shri Ram Status, Bhakti Video, या Jai Shree Ram Shorts/Reels पसंद करते हैं, तो यह वीडियो जरूर देखें।
👉 Video पसंद आए तो Like 👍 करें
👉 Channel को Subscribe 🔔 करें
👉 Jai Shree Ram Comment में जरूर लिखें 🚩
🚩 जय श्री राम | Jai Shree Ram | Ram Bhakt 🚩

2
0
4
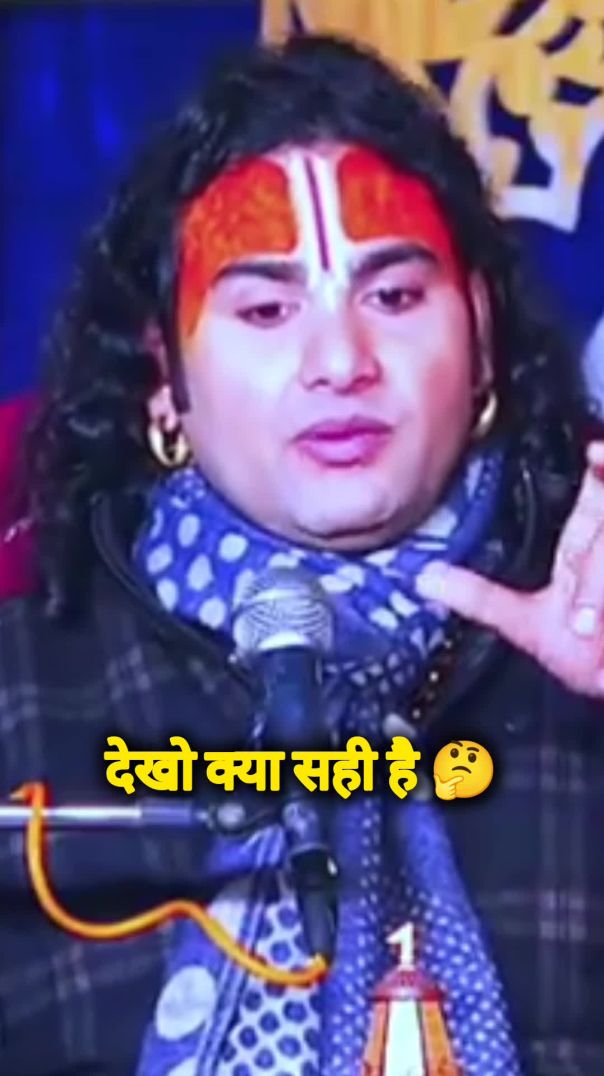
#सनातनभक्ति
#सनातनधर्म
#क्या_यह_सही_है
#हिंदूधर्म
#धार्मिक_ज्ञान
#भक्ति_मार्ग
#धर्म_और_संस्कार
#हिंदू_विचार
#SpiritualTruth
#SanatanDharma

0
2
3

subscribe

1
1
3
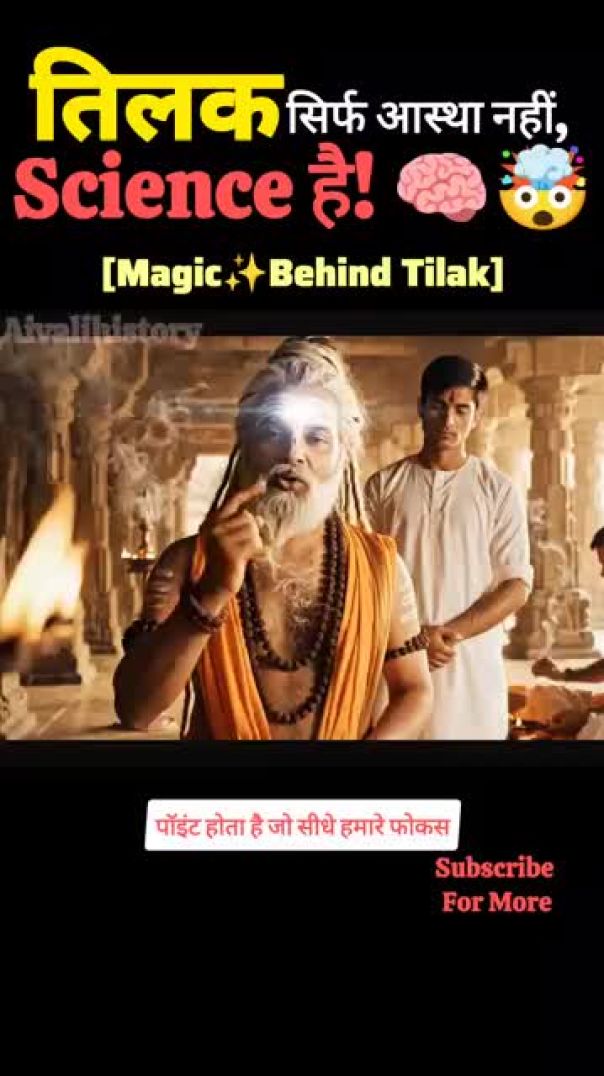
तिलक सिर्फ आस्था नहीं, Science है!"Tilak " Sanatan Indian Wisdom Spiritual Science
0
0
2
